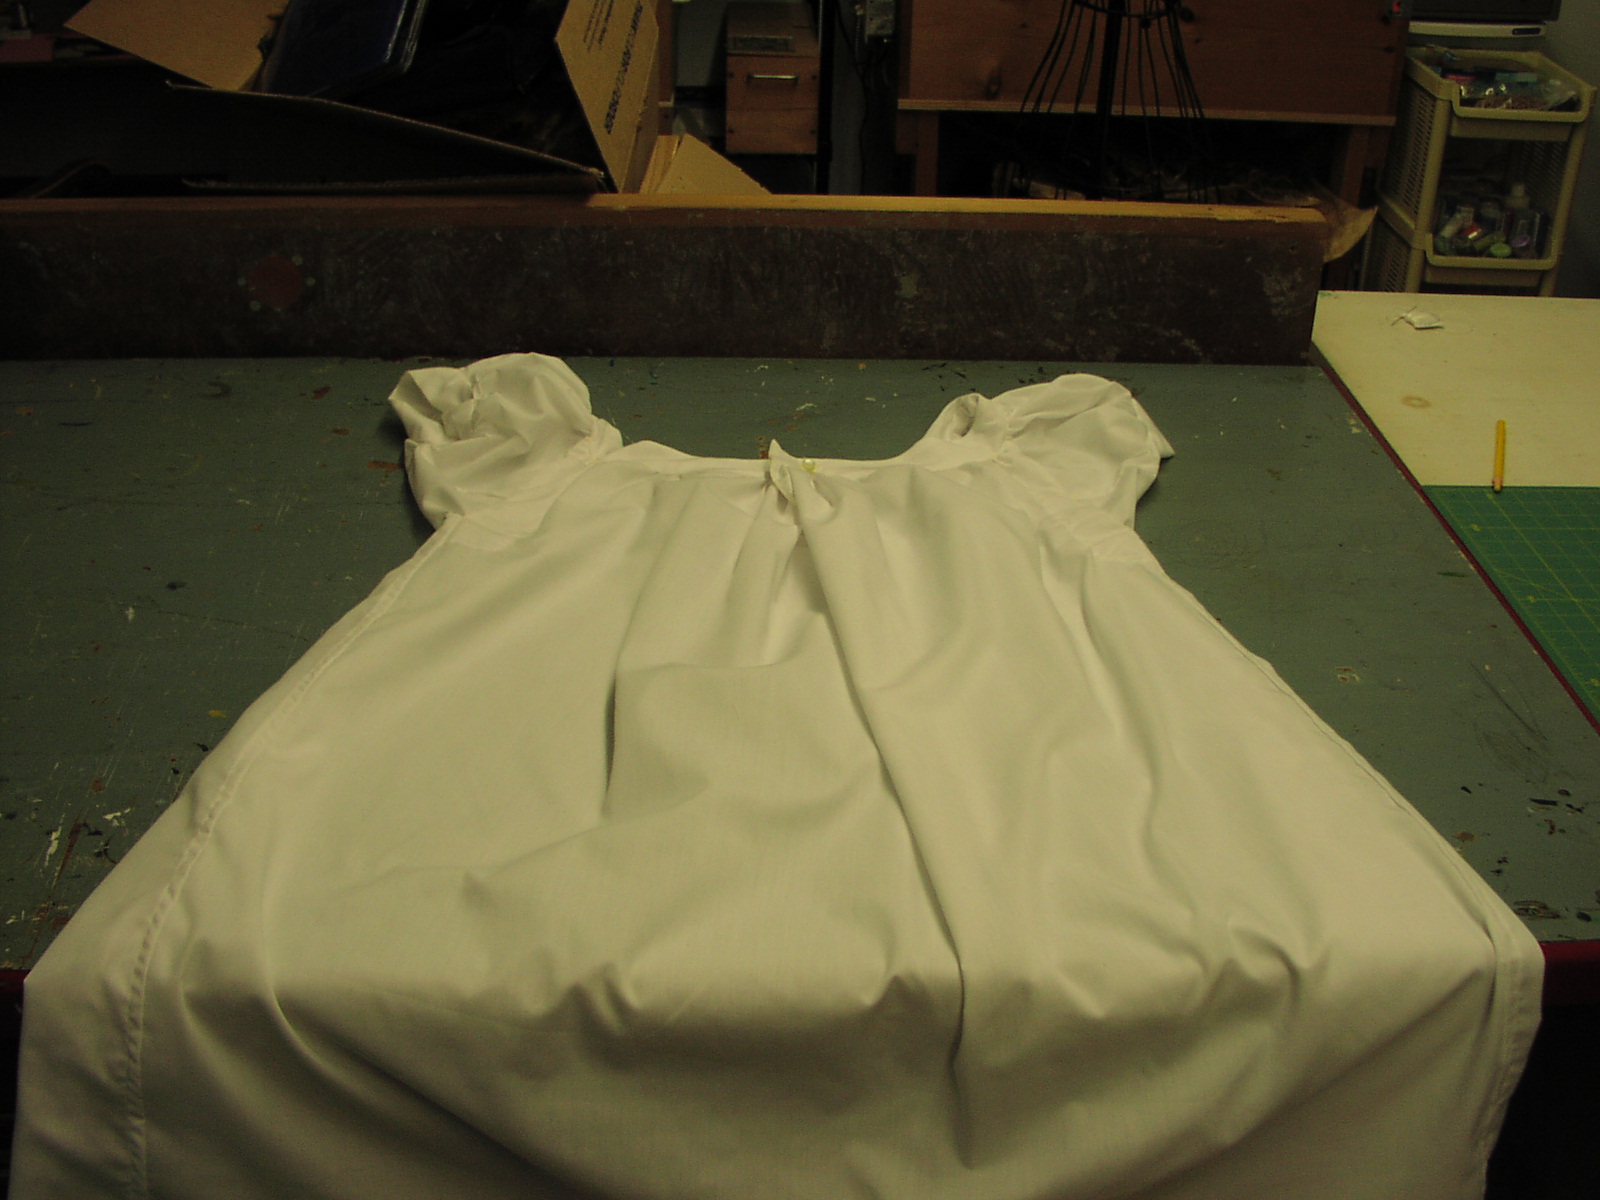
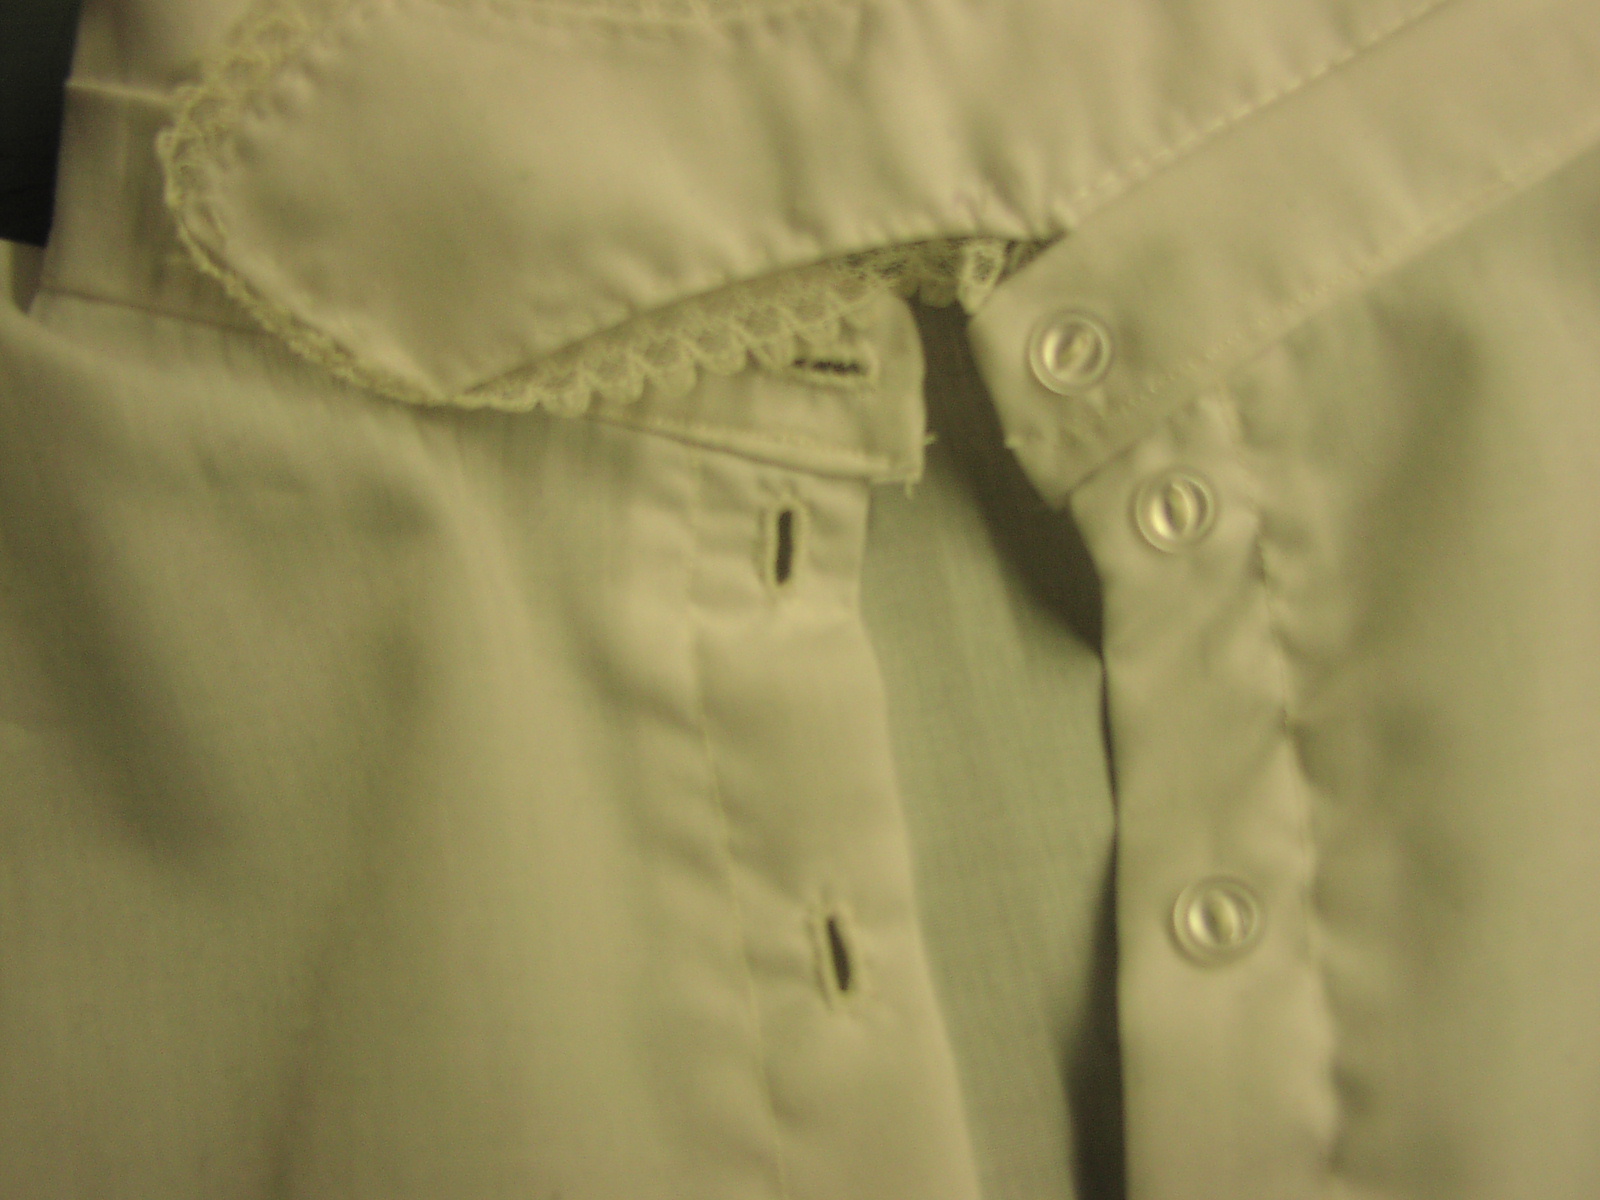
It's been a while...I finished up the chemise and drawers over MLK Jr day. The facing ended up rather nice looking, and I hand did the button holes. However, I did cheat and machine sew the hem... Anyway...
 |
| Faux mother of pearl buttons |
The drawers were quite simple to make, took me about five hours. The most annoying part was the curved flat felled seams. There's got to be an easier way to iron a curved surface. Other than that, they came together wonderfully. They have a split crotch and tie in the back. They reach to about halfway between my ankle and mid calf.
 |
| sooooo annoying |
 |
| Split crotch |
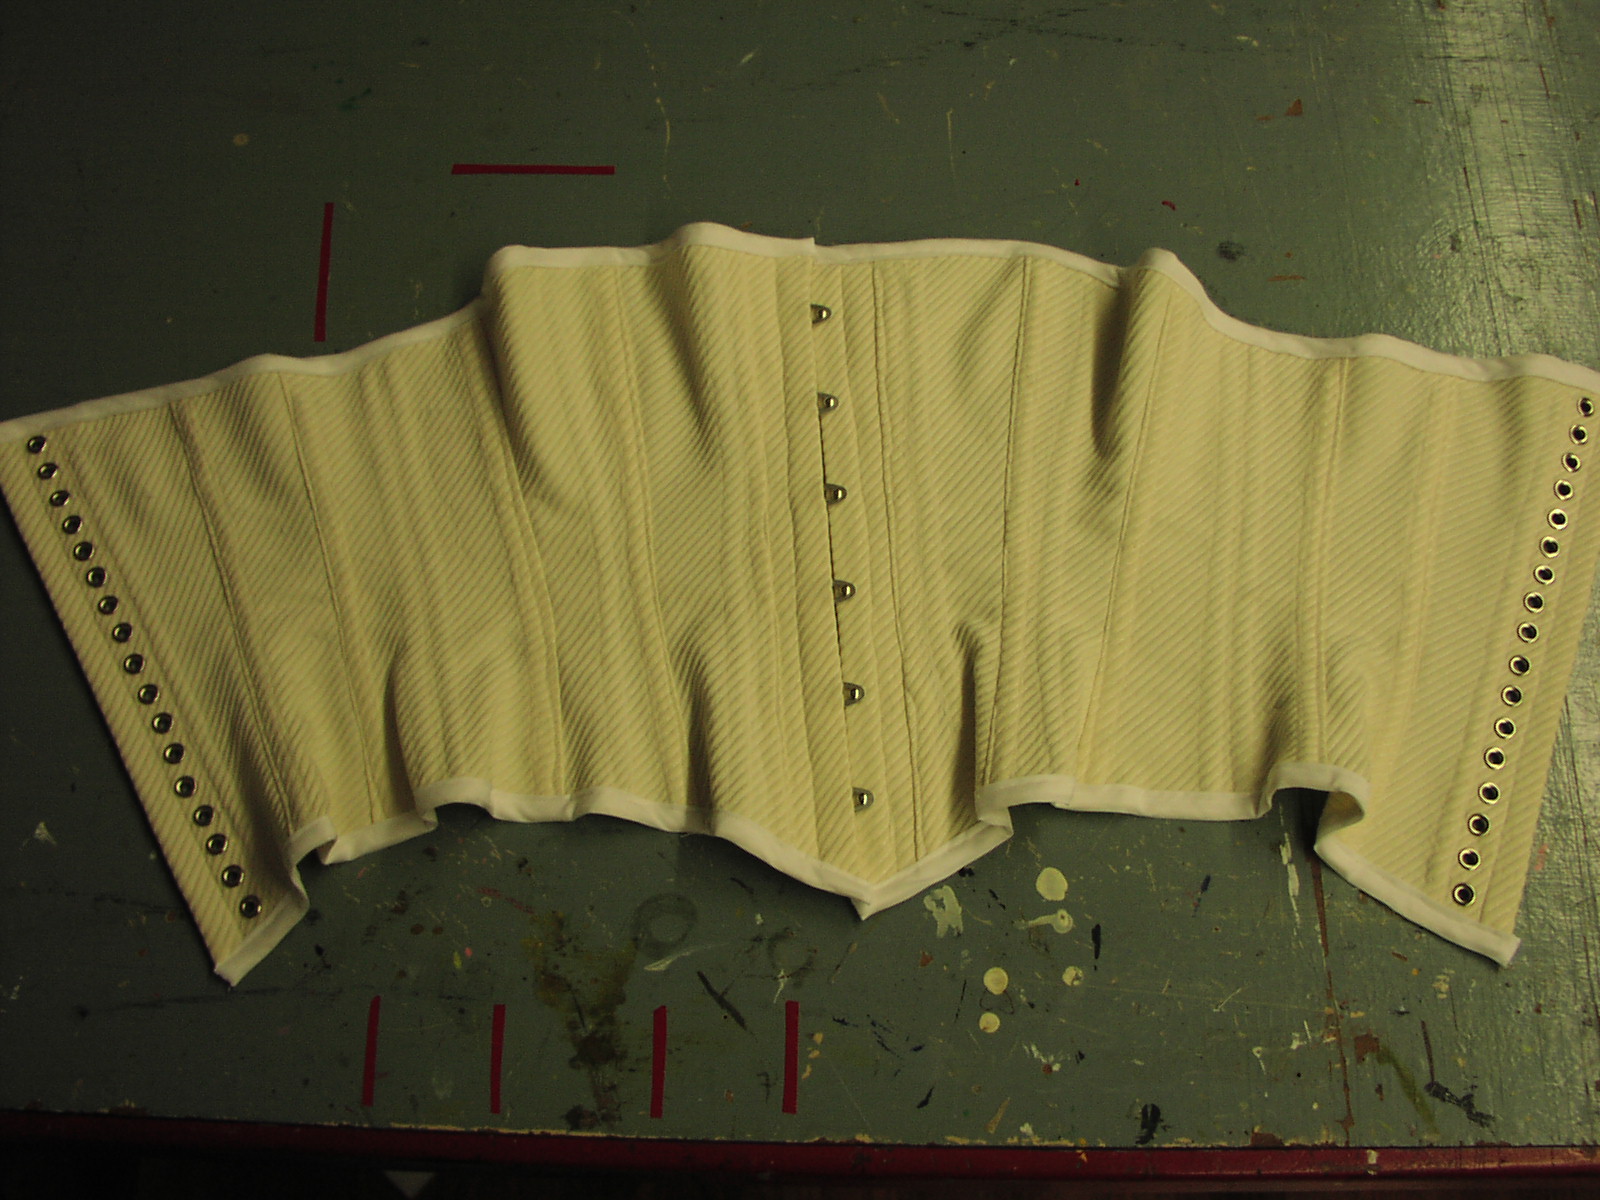
The corset from 9769 I made over February break-thankfully the final product came together without a hitch. I made a mock up, but sewed the panels all wrong and threw caution to the wind. The final corset fits decently, it's a bit large, but relatively comfortable and in proportion to me. I was able to go 6 hours in it at an arts festival last weekend, and it held up nicely. I got all my supplies for it from
corsetmaking.com. It has 1/4" spiral steel bones everywhere except near the lacing where I used spring steel.
 |
| my ill-fitting mockup |
 |
| all the panels, facing the correct direction this time |
 |
| twill tape boning channels |
 |
| 8 of the 34 grommets |
 |
| the final thing- 15 hours of hard work |
Next up was a petticoat made from Truly Victorian's free pattern. I have a 150" hoopskirt, so i had to use more fabric than they suggested. I ended up using huge box pleats (3.5" across) to get the ruffle thingy on the bottom. If I were to do it again (and I will at sometime) I will definitely attach it to a fixed waist band instead of a drawstring.
I started work on Simplicity 1818 in February as well. The chemisette and under sleeves turned out nicely. I did learn that my sewing machine eats delicate lace for snack, so all lace gets hand sewn. The button holes are all hand done. (I failed to get a picture of the undersleeves... eventually) And this past week, I got a fair chunk of the bodice of the dress done. It has that very annoying plastic boning in it- I really do hate that stuff, and I probably won't use it again if I can possibly help it.
 |
| pretty little button holes, how tedious you are |
 |
| dress fabric pre ironing |
So that's what I've been up to these past months. This dress will be done by May 18th as I need it for a 150th anniversary reenactment. And I'll attempt to post a little more regularly now :)


You weren't kidding; you're a seamstress! I can't wait til the day I can crank out those projects like I've already seen on your blog! And it's quality work too (unlike my crooked sideways work). I can't wait to see more posts!
ReplyDeleteKristen
ps-If you turn on the "followers" component I can add your blog to our blog list so it links easier!
Thank you! I turned on followers so hopefully it should work now!
ReplyDeleteJuliana
Just found your blog from The Victorian Needle! Can't wait to read all your projects! I sew a lot for 1860 myself and also went to the athenaeum! I recently just finished a summer 1860 dress! - http://vintagebisou.blogspot.com/2013/03/the-finished-pink-rose-dress.html
ReplyDelete150 hoop maybe too big! I cant even walk into thresholds without having trouble with my 108 hoop! I cant imagine how troublesome dancing in a hoop that large! Your dress looks great! For extra support, you might want to use metal bones along the darts on your bodice!
ReplyDeleteThank you for your advice! I'm pretty new at civil war era, so I'll gladly take all the help I can get to improve!
DeleteJuliana
Wow! You sewn so much faster than me! (Not that that's saying much. ;) ) I am still working on my corset. I made the mock-up just fine, but then when I tried sewing the actual corset together I ended up sewing four of the pieces in upside-down. And that was after I flat-felled all the seams, so the seam allowances are all messed up now. *sigh* I'm still working on fitting it. Yours looks lovely! Was it hard to get the grommets in?
ReplyDeleteYour dress fabric is gorgeous! What kind of fabric is it? Cotton?
-Veronica
The grommets were fairly easy to put in. I have a two piece die that is used with a rubber mallet. I made the holes with an awl and then widened them with a pencil before inserting the grommet. I think the dress fabric is cotton, due to its stubbornness when ironing, but I'm not sure, as I bought it from a local fabric store where everything is $1.99/yd and unlabeled :)
DeleteJuliana
Tis is great work ye old kindred spirit!
ReplyDelete